Create an interactive restaurant menu in Adobe InDesign
- Angelo Montilla

- Dec 29, 2020
- 2 min read
Updated: Dec 2, 2025

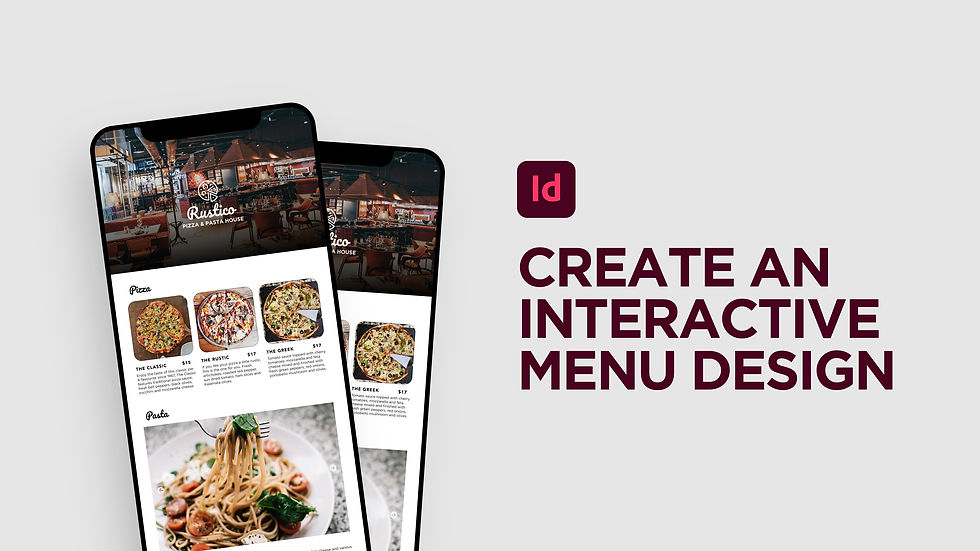
In this tutorial, learn how to create an interactive restaurant menu specifically meant for mobile, but can still be viewed on other platforms.
This would essentially allow customers to open a menu on a smartphone and select items from an interactive viewing experience in HTML format, rather than a PDF. While this tutorial is focused on restaurant food items, this can be applied to any project you may have in mind.
To create a scrolling frame for the pizza menu, first design and set the amount of cards to show in the scroll. In this example, I have six pizza items in the scrolling frame.
Also, to set up the scrolling frame, you'll need to download the In5 extension from Ajar Productions. You can download a version on Adobe's Extensions Website. However, in order to gain access to this freebie, you'll need to enter your name and email and sign up for Ajar Productions' newsletter. You can download the In5 free trial here. Follow the steps to download the scrolling frame panel and open it in InDesign.
Here's how.
Scrolling Frame Menu (In5)
With Selection Tool, select all six pizza images and descriptions
Go to Object > Group or the keyboard shortcut Command/CTRL + G to group all elements together
Next, go to Edit > Cut or the keyboard shortcut Command/CTRL + X to cut the grouped elements
Use the Rectangle Frame Tool and draw a frame that will become the container for your scrolling menu.
Right click the frame container and select Paste Into to paste the grouped pizza menu
Navigate to the In5 dropdown and select Scrolling Frame to open the panel
Set the scrolling direction from the dropdown options
Let's move on to creating a photo slide using Object States. In this example, learn how to use Buttons and Forms as well as Object States to set up the button structures with next and previous Object State actions applied.
Object States
Order the images in the Layers panel how you want them to appear in the photo slider
In the workspace, use the Selection Tool to select and stack all images together
With images still selected, go to the Object States panel and click create new Multi-State Object icon in the bottom right hand corner
Rename the Multi-State Object to represent the image slider project
Rename each state to represent the images in the slider
Now that the multi-state object has been set up, it's time to set actions to the Next and Previous buttons to complete the photo slider.
Buttons and Forms
Click what will become the forward button and in the Buttons and Forms panel, choose Button under the Type dropdown
Rename the button to Forward Button
Leave the default Event to On Release or Tap
Click the Actions plus sign and in the dropdown, select Go To Next State
Click what will become the previous button and repeat steps 1-4, only rename to Previous Button and setting Action to Go To Previous State


