Edit Images Faster in InDesign with Adobe Express (New Update)
- Angelo Montilla

- Mar 28
- 3 min read

Adobe InDesign has a powerful new update that makes image editing much faster and more convenient.
With Adobe Express now built into InDesign, you can remove backgrounds, apply effects, and clean up distracting elements in your images without leaving your layout.
Click the link below to download the exercise files for this tutorial and follow along, step-by-step. Exercise files are for this tutorial only and not to be used for personal or commercial use.
Before getting started, you'll need to open the Contextual Task Bar. This is where you will find the built-in Adobe Express editing feature. To open this panel, go to Window > Contextual Task Bar. It should be docked or pinned near the top of the workspace by default.
Remove Background
In the InDesign file included in the exercise files, open the Layers panel and select the main product image at the top of the stack. This is a png image of a hand holding a soda can in this product ad layout.
This is where the new workflow becomes especially useful. Instead of moving to Photoshop for a quick background removal, you can now start the process directly in InDesign.
Select the image and choose Edit with Adobe Express from the Contextual Task Bar. Adobe confirms this launches the Express editor inside the InDesign workflow.
Choose Remove Background from the left side menu. The AI identifies the main subject and removes the background automatically.
Once the edit looks good, click Apply.


After applying edits you can either replace the original image, or save the result as a new image.
For this tutorial, I chose to replace the original image so the cleaned-up version updates directly in the layout.
It’s important to note that the image has to be a PNG. If you use a jpeg, the background will be removed but will be replaced with a white background. So, ensure you’re using a PNG when applying the Remove Background feature to an image.
Applying Effects
Next, select another image in the layout, such as the watermelon background.
Once again, click Edit with Adobe Express from the Contextual Task Bar. This time, go into Effects and apply a Duotone treatment.
You can start with a preset or build your own custom version by choosing your own shadow and highlight colors.


This is a great way to bring an image more in line with your layout’s color palette without leaving InDesign. In a product-focused design like this one, using a duotone effect can help unify the background with the packaging, typography, and call-to-action elements.
After choosing your colors, click Apply to send the updated image back into InDesign.
Applying Remove Object
Let’s look at another example.
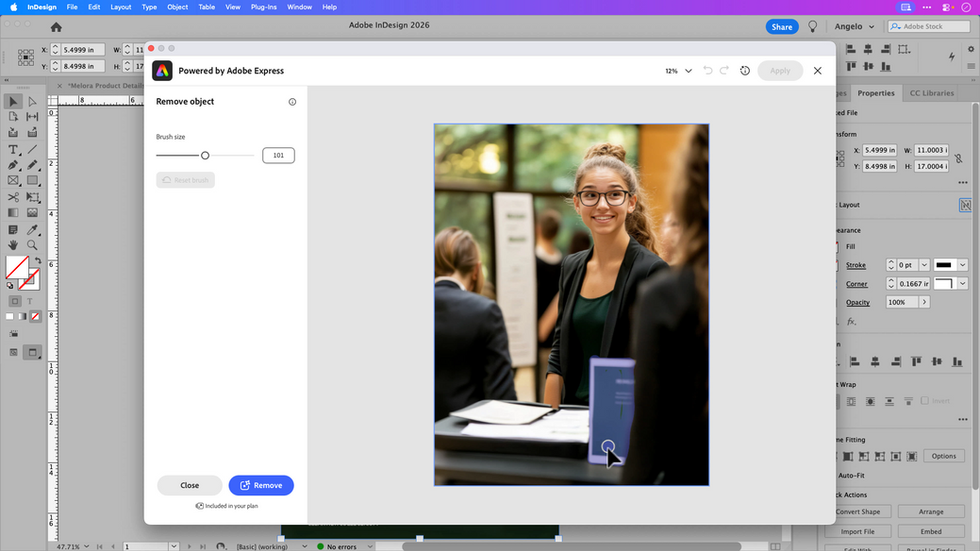
In a second layout, I’m working with a flyer for an upcoming career fair. There’s a distracting object in the foreground of the image that we'll remove without having to rebuild or replace the image entirely.
Select the image, choose Edit with Adobe Express, and then choose Remove Object.
From there, adjust the brush size in the upper-left area of the editor and paint over the element you want removed.
Once your selection is in place, click Remove.
After a few moments, you’ll be shown variations. Choose the version that looks best, click Apply, and then decide whether to replace the original image or save a new version. In my example, I replaced the original so the cleaned-up image updated right in the flyer layout.