Take Masks to a New Level in Adobe InDesign
- Angelo Montilla

- Jan 30, 2019
- 2 min read
Updated: Dec 2, 2025

Placing your layer masked images into your Adobe InDesign projects can make your layouts really come to life.
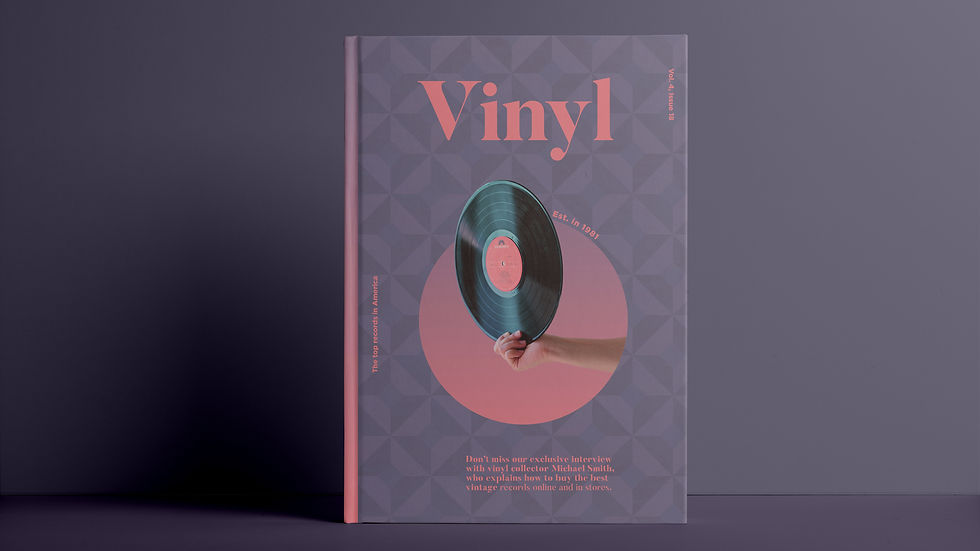
However, having those same images pop out of objects — and not just contained within the shape itself — can really set your designs apart from the competition. For example: having the record come out of the shape in this tutorial.
I'll have a separate tutorial on how to create layer masks in Photoshop very soon, but in the meantime, I wanted to explain how to go through this process in InDesign.
Here are the steps:
1. Place your PSD image into your InDesign document and add a shape of your choice that you will send behind the photo. You can do this by right clicking the shape, arrange and send to back. Or SHIFT + Command/Control and [ / ] as a short cut.


You notice in the second photo, a piece of the arm holding the record is sticking out and adjusting the photo box or rotating it in any way will not solve the issue as it will not look natural.
2. With your selection tool, click the record image and go up to Object and down to Clipping Path and then select Options. This will bring up a dialog box where you can choose the type of path you want to designate it in InDesign. Choosing Alpha Channel will create a path around your clipping mask image.

3. You will need to use your Delete Anchor Point Tool to remove points from the arm in order to get the edges closer to the edges of your shape. From there, use your Direct Selection Tool to snap the anchor points on both sides of the arm to the edge of your shape. Finally, as shown in the example above, use your anchor point handle to add a curve to the arm that matches the curvature of the circle.
This is the result:

4. I really suggest grouping the circle as well as the record image so if you manoeuvre the content or manipulate it in any way, you can do it simultaneously to both objects and not one at a time. This will save you time and will allow you to work in a more efficient manner!


Once you design the main artwork on your layout, you're ready to start building around it. Create a compelling masthead or headline and place your typography strategically around your image. Oh, and don't forget to set up your guides!
For more tutorials, visit my blog page!


